A confession, I have a disdain for garden hacks and “secret” horticulture social media trends. Want to grow a tomato upside down? Super. Start roses in potatoes? Good luck.
One trend I do admire is winter sowing. Every gardener loves time in the soil and every season is anxious and inpatient to get started. The winter sowing season has started. Some seeds require a cold stratification to germinate. In nature, these plants would drop seeds now where they would lay in the soil until warm springtime temperatures hit. The Winter Sowers, a Facebook group with over 54,000 gardeners was started by small yard gardener, Trudi Davidsoff. I joined several years ago and still enjoy sowers excitedly posting pictures of green sprouts down the neck of milk jugs. If you are the non-Facebook type a quick google search will bring up a bazillion articles.
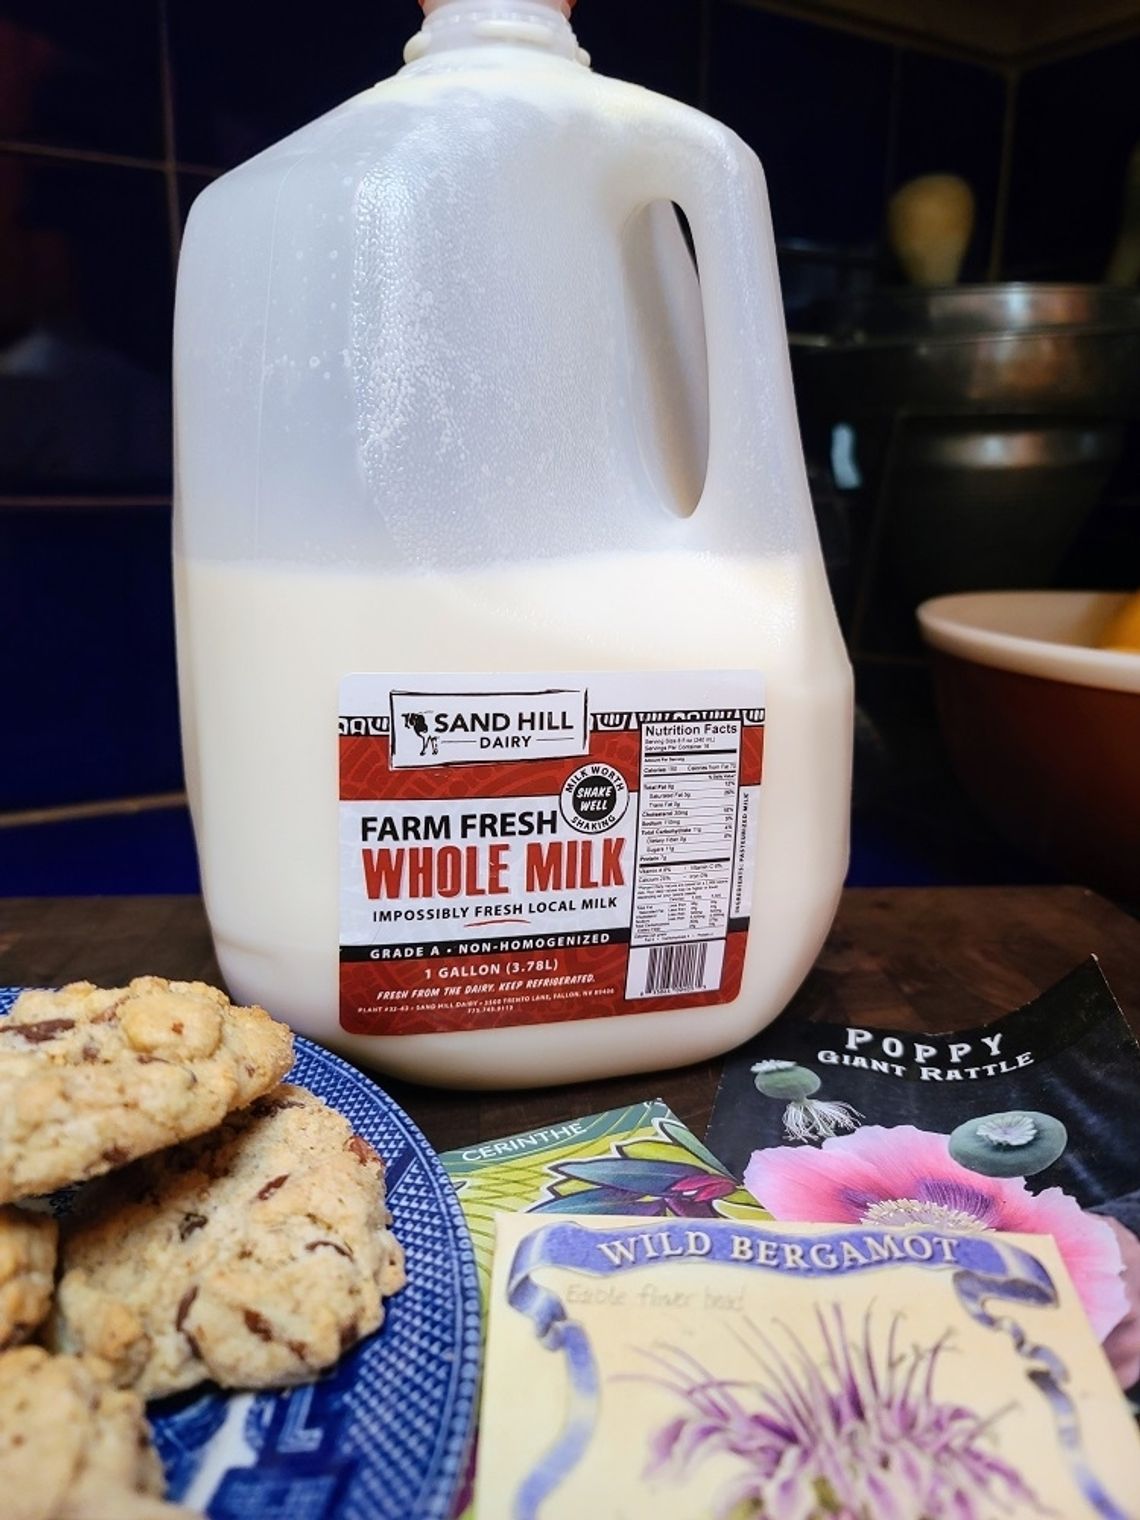
Winter sowers recreate the cold stratification process by starting seeds outside now in clear or opaque containers, especially gallon sized milk jugs. The repurposed, mini greenhouse gives your seeds a little extra protection from the elements and seed eating critters. The plants you end up with are better acclimated plants come spring. There are several advantages to winter sowing versus indoor seed staring. Seed trays take up a lot of space and can be spendy. So are heat mats, growing lights and fans. The hardening off process is also much simpler.
December 21, the winter solstice is a good time to start seeds that require a longer stratification. Native plants like milkweeds, delphiniums, columbine, and lupine should be started now. A second round of planting can be done mid-February for seeds that need a short round of cold like hollyhocks, foxgloves, and coneflowers. You could also use this method to start seeds that do not need stratification around March if you’d like. This includes many herbs, annual flowers, and some vegetables. This method does not work well for tubers, rhizomes, or bulbs.
Start out with clean, sterilized containers, a good wash with hot, soapy water and a minute or two in a bleach solution is recommended. A quick note, jugs from local Sandhill Dairy require extra scrubbing as the creamy, delicious milk leaves a residue. Make drainage holes at the bottom of your container. Beneath the handle of the container partially cut open the jug, making a roof for your greenhouse leaving a hinge top. Add about 5 inches of quality potting mix. I like the Promix bales you can order from Louie’s Home Center. You do not want regular seed starting mix here, it is lighter in texture and dries out too quickly. Sow your seeds at an appropriate recommended depth into premoistened soil. In higher wind areas, tape the container around the middle, so the hinge doesn’t fly open. The number of seeds you plant is up to you. Some folks plant many seeds and gently move them to bigger pots once the seedlings are several inches high. Some people wait and plant what they call a “hunk of seeds” directly into their garden after the threat of frost has passed.
Label your containers, a sharpie marker will usually fade, use a paint pen, or grease pencil. Leave the top cap off for ventilation. Place in a sunny, low traffic, out of the wind spot in your yard. Snow and rain are welcomed. Condensation on the inner walls mean the greenhouse is functioning well. Water when needed, never let them dry out. Open the hinge on warmer days. If your seedlings are getting tall and we get a late spring storm cover containers with a blanket or frost cloth. When nighttime temperatures start to remain steady around 50 degrees, harden off seedlings by leaving the hinge top open all night. Happy sowing.













Comment
Comments